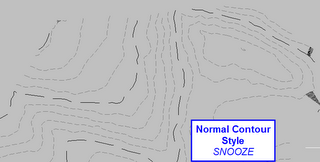
 So you want to analyze a surface, huh?
Civil 3D 2006 and 2007- Surface Analysis things to remember
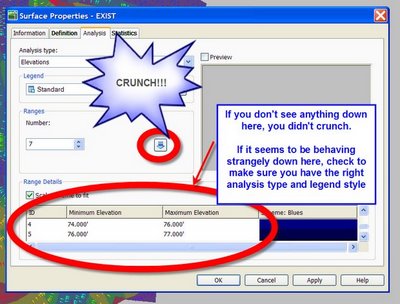
It seems like it should be just as easy as making the analysis style you desire current, but it isn't. That may seem to work, but alas, there is more to it. BUT NOT A LOT MORE. IT IS STILL EASY. YOU JUST HAVE TO CRUNCH!
This goes along with the contour analysis table we made, and someone asked about it today on the Autodesk Civil 3D Discussion Group, so worth repeating:
Figure out what you want to analyze. Your choices are:
Make sure that you have made a surface style that gives you what you want.
The Civil 3D 2007 .dwt files that are provided when you install Civil 3D have a few built for you already. But note that this is where you change things like- do you want it to have a 2d effect or a 3d effect? What color scheme? How many bands? Criteria for breaking them up? 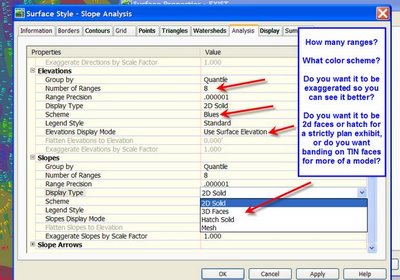
Make a legend table style that will show off your Surface Analysis Object Style the way you intend. (See the Contour Area Table Blog entry below for some ideas on how to operate in that interface)
The analysis will be generic and wrong if you don't give Civil 3d the chance to think about your surface.
Make sure your surface style of choice is set current. So if you want to see elevation banding, make sure your custom style is current.
Add the legend table (see the Contour Area Table entry below)
IDEAS:
- elevation banding on a volume surface can flag areas of extreme cut and fill
- steep slope plans can be handled with a custom slope style
- use the slope arrows to help you figure out trends for SWM analysis
- make your floodplains various shades of blue and uplands earth colors in a 3d face style for a quick visualization that your clients will "get".
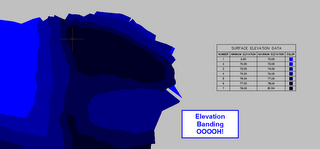
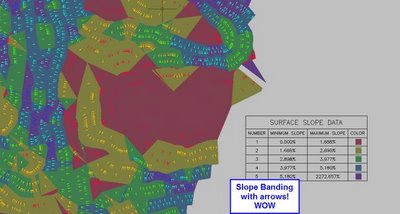
Here are a few examples of some surface analysis (they are pretty lame, but you'll get the idea). Remember- click on any picture to see it larger.



0 Comments:
Post a Comment